
Managing Projects
Projects helps an organization restrict access to specified parts.
In the Catalog, users and parts can be given project associations; only those users associated with a given project can search, view, add and edit parts associated with that project.
Note
Use the Toggle Rows button to expand/condense the data displayed in all the rows.
- Log on as an administrator, then click the Projects tab.
- Click the Create new project button.

- Complete the Project Name, Description, and Project Lead fields.

- Set a different location than the default if desired.
- Associate a property set (optional) for future project filtering. See Managing Project Custom Properties.
- Click the Create button.
If your organization has a large number of projects listed on the Projects tab, use the Filters section to narrow down the list.

Project Details
Enter text to search for a project name, description, and/or project lead.
Users
Select a user from the dropdown list to see project codes associated with that user.
Roles
Select a role from the dropdown list to see users associated with that role.
- Log on as an administrator, click the Projects tab in the Admin Area.
Locate the project, click the Modify User Access button.
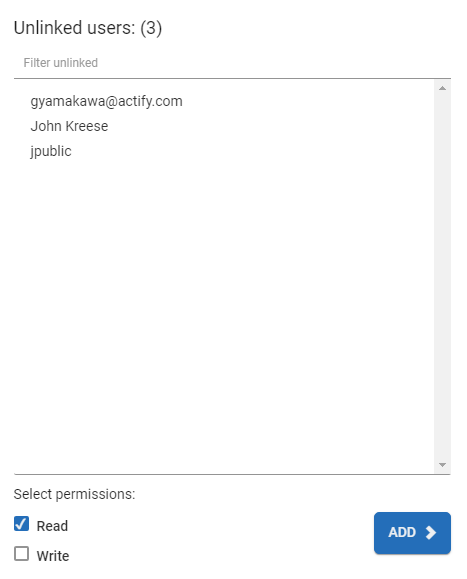
- Select a user in the list of Unlinked users.
- Select the corresponding Read/Write permissions checkbox(es).
- Click Add.
- Click Save.
- Log on as an administrator, click the Projects tab in the Admin Area.
Locate the project, click the Modify User Access button.
- In the Roles list, select the corresponding Read/Write permissions checkbox(es) for the appropriate roles
Click Save.

- Log on as an administrator, then click the Projects tab.
- Locate the project name in the list, then click the edit icon.

- Edit the Project Name, Description, Project Lead, Location or Property Set.

- Click the Save button.
Projects cannot be deleted, but can be archived or made inactive. Once archived, a project can no longer be edited nor can additional parts be associated with it.
Archived projects can be viewed in the Catalog with all associated parts.
To archive a project:
- Log on as an administrator, then click the Projects tab.
- Locate the project name in the list, then click the archive icon.

When the project has been archived, a confirmation message appears.
A project may have been archived prematurely or simply needs to be reopened. To do this one must Activate the project..
To activate a project:
- Log on as an administrator, then click the Projects tab.
- Click on the Archived tab.
- Locate the project name in the list, then click the activate icon.

