
CAD Publisher Installation
CAD Publisher runs reliably on the Windows version of ArangoDB Version 3.10.x (Community Edition). This allows organizations to run with Windows as a database server or run an entire instance on a single system.
See ArangoDB Compatibility Chart for supported versions for your CAD Publisher. Please note, however, that version ArangoDB 3.9.x and below is considered End Of Life.
Install ArangoDB
Install Centro WebApp
Install Centro Pipeline Host
Install Centro Pipeline Manager
1. Install ArangoDB (Please note the screenshots are for illustrative purposes only)
To install ArangoDB 3.x.x for Windows
Download the .exe file to install.
Run the installation setup.
Click Next.

Click I Agree.

Click Next.

Enter a password and the confirmation password for the root user. Select mmfiles for the engine. Click Next.

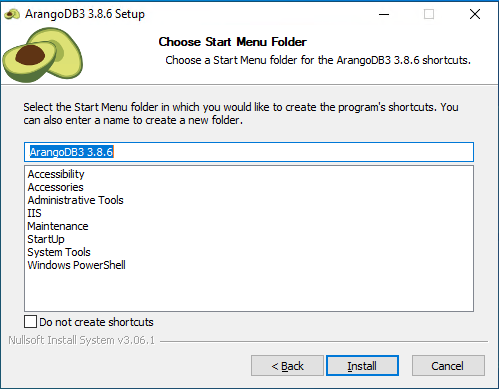
Click Install.
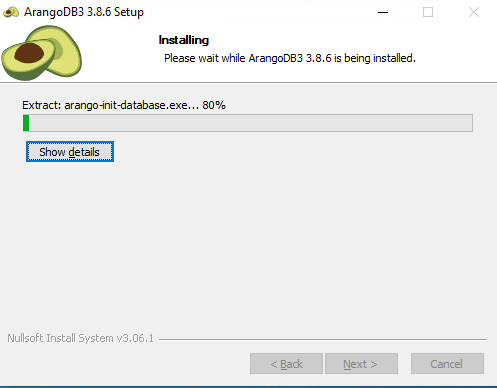
Allow for the files to be installed.
Click Finish

To Install the Centro Database on Windows,
For the application and the Web GUI to reach the ArangoDB database, configure the endpoint to make it accessible.
To Set the Endpoint
Edit the C:\Program Files\ArangoDB3.x.x\etc\arangodb3\arangod.conf file.
Change the line from
CODEendpoint = tcp://127.0.0.1:8529to
CODEendpoint = tcp://0.0.0.0:8529Save the file.
After changing the endpoint restart the service to use the alterations.
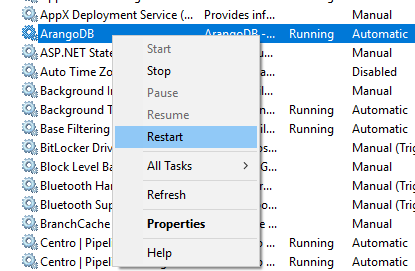
To Restart the Service
Open Windows Services.
Find the ArangoDB service.
Select and click restart.
Complete the database setup, by running Centro's database deploy script
To run the Centro database deploy script
NOTE: If you installed ArangoDB to a non-"C" drive, you will have to modify the setup.bat file as shown below;
Navigate to the ArangoDB install folder
DRIVE:\Program Files\ArangoDB<version>
Navigate to the \use\bin folder
Edit the setup.bat file
Change the following setting using the proper Drive letter
SET ARANGO="C:\Program Files\%ARANGOV%\usr\bin\arangosh.exe"
Extract the C7-deploy-7.x.0xxxx.xxxx.zip file
In the Power Shell, navigate to the deploy folder.
Run the Setup.bat file.
Follow the script instructions.
The Centro deployment script creates a "Centro" user to use when setting up the web application and services rather than using the database root user.
Make note of the random password created for the remainder of the installation. If you use this user/password combination, you can skip the Step 5.

It is strongly recommended from a security perspective to use a database user other than the root when installing the web application and services. The following can be used to create the user in Windows in a command prompt.
The ArangoDB web GUI can also be used. It is important to set read/write privileges for the user on the ActifyDB database.
You will need your root password to enter the arangosh shell program.
cd c:\Program Files\ArangoDB3 3.2.5\usr\bin

arangosh

require("@arangodb/users").save("username","password")
require("@arangodb/users").grantDatabase("username","ActifyDB")
require("@arangodb/users").grantCollection("username", "ActifyDB", "*", "rw")

exit
Note: The c:\Program Files\ArangoDB3 3.2.5\usr\bin directory path is based on the version of Arangodb you've installed. Adjust accordingly.