
Upgrade CAD Publisher 7.13.x/7.14.x to 8.0.1
Take a Snapshot/Back up your Server before proceeding with the Upgrade incase an issue occurs during or after the upgrade procedure.
Confirm you can successfully log into ArangoDB home page as Root user (Or as “Centro” user if that was used previously). The URL on the server is : ArangoDB Web Interface

Confirm version of ArangoDB installed is supported by CAD Publisher 8.0.1 by checking the ArangoDB Compatability Chart: https://help.actify.com/CNT7/arangodb-compatibility-chart
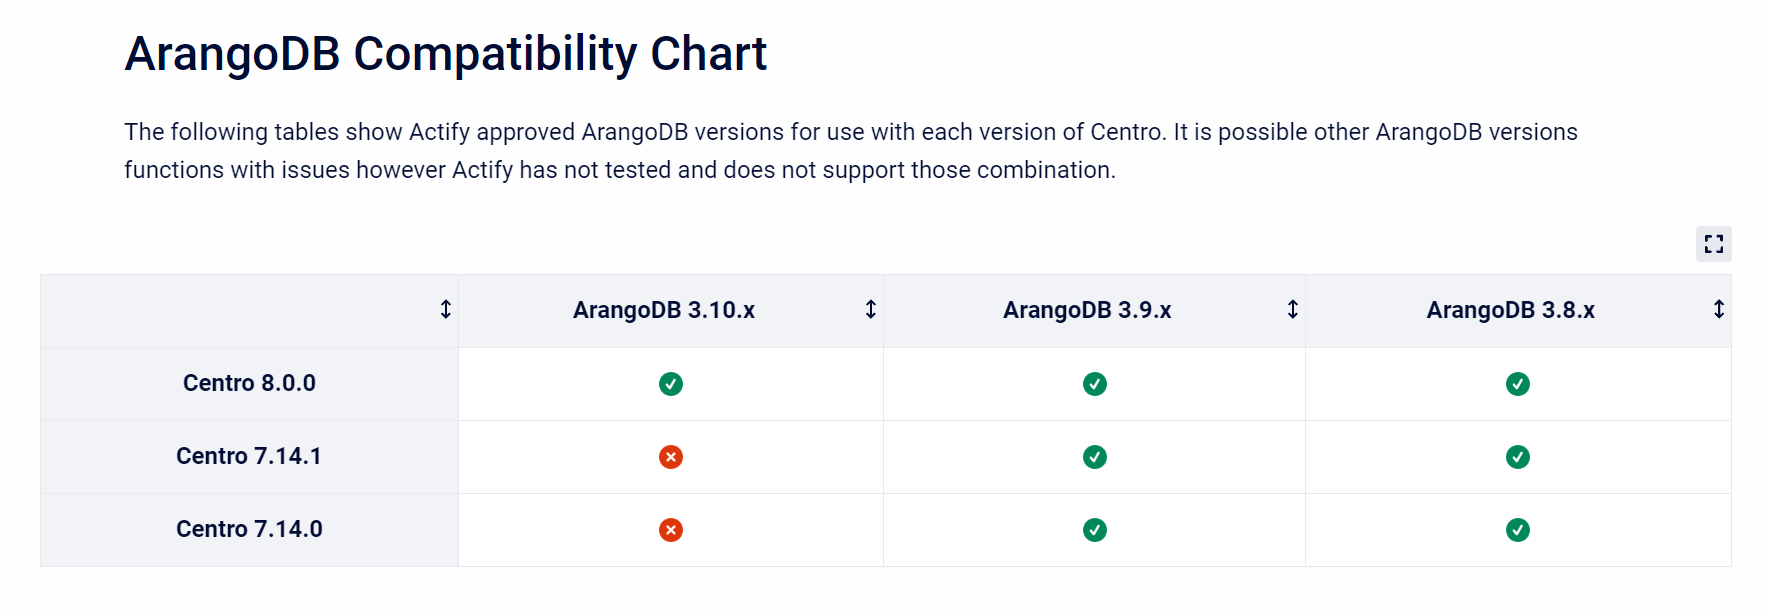
You can check your current ArangoDB version by logging into ArangoDB from Point 1, the version is shown bottom left of the web page.

Install all available Windows Updates and then reboot the machine.

Install both Visual C++ Redistributables x32 and x64 (2015,2017,2019 and 2022 are bundled per executable). If you know these are both already installed you may proceed to the next step.
After installing C++ x32/x64 bit, proceed to Install .NET 4.8.0 (or 4.8.1) and then reboot the machine.
After the reboot. Proceed to Stop the following Services on the CAD Publisher Server:
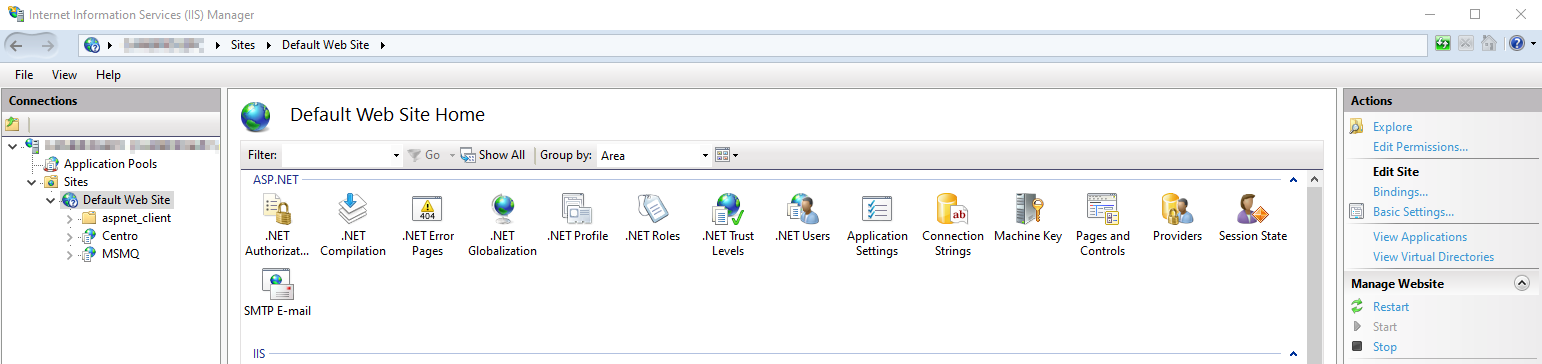
Open IIS and click “Stop” under Manage Server on the right-hand side.
Next, Open Windows Services, right click ArangoDB in the list and click on “Stop”

Stop the Pipeline Host Service
Stop the Pipeline Manager Service

Run Deployment Script for 8.x.x
Unzip the Centro zip

Open the unzipped folder and Extract the the C7-deploy-8.x.0woxxxx.xxxx.zip file. Which will show you the content shown below:


In the Power Shell (Or Command Prompt), navigate to the deploy folder you have just unzipped in Point 8.B
Run the Setup.bat file. (NOTE - Do not double click or try to right click and run as admin, this will not work, it must be executed within Command prompt or Powershell.
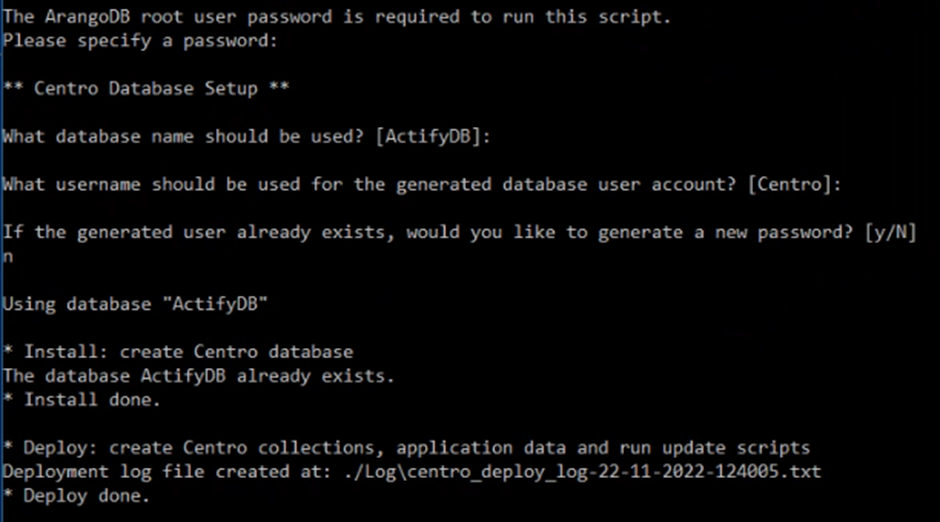
Follow the script instructions:
Press Enter for “What Database Name should be used?
Press Enter for “What username should be used for the generated database user account?”
Type n for “If the generated user already exists, would you like to generate a new password?” and press Enter.
Successfull Deployment of the script should display as below; with no errors/warning messages.
Install WebAPP

Open the Centrowebapp.exe via Powershell or Command Prompt as Administrator

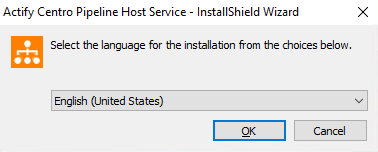
Select the same language used previously for the installation.
We couldn't load the file.
Click Next to proceed with the installation

Confirm agreement with the license agreement.

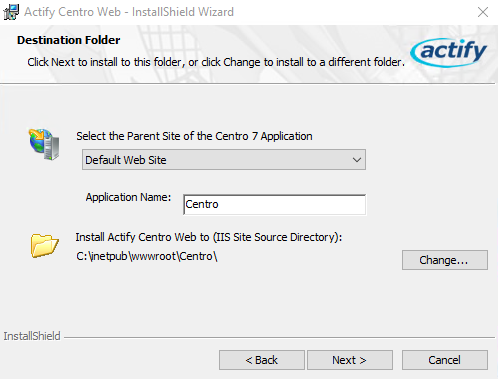
Select Application Under Existing Site.

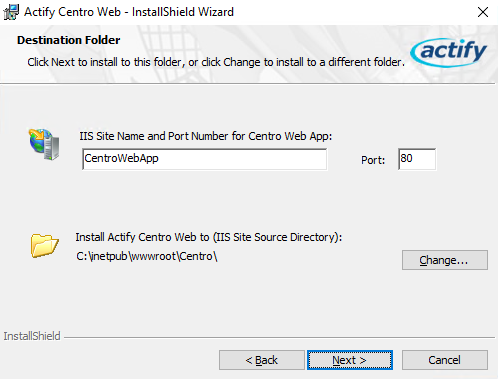
Leave settings as is; unless changed from the default and click Next to proceed.
Leave settings as is; unless changed from the default and click Next to proceed.
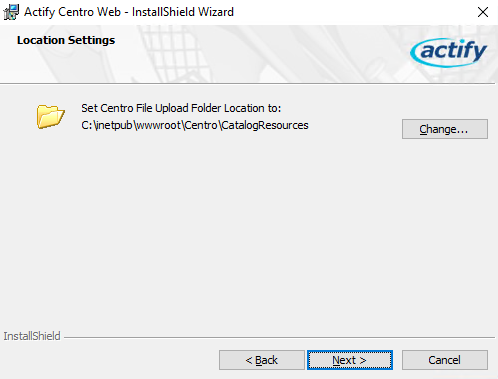
Leave settings as is; unless changed from the default and click Next to proceed.
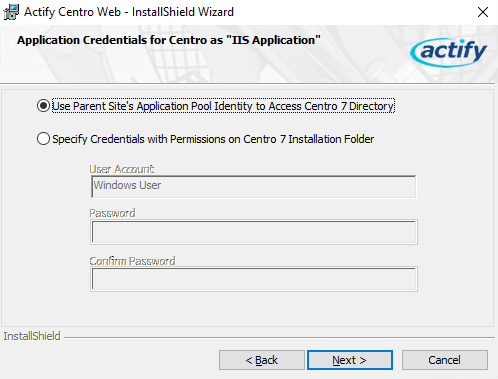
Leave settings as is; unless changed from the default and click Next to proceed.

Ensure server details are inputted correct and use your previously tested username and password here in order to connect to the ActifyDB with the WebAPP.

Click Next to Proceed
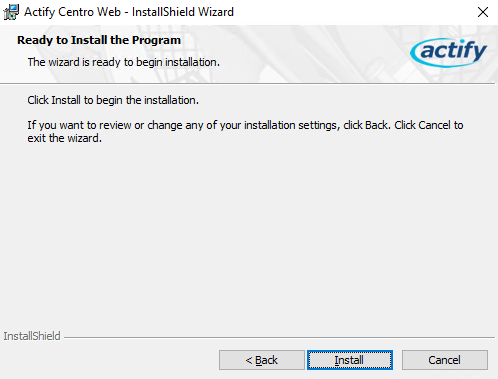
Click Install to complete the Web App installation

Next, browse to the CAD Publisher website to confirm it is running correctly after installing the Webapp.
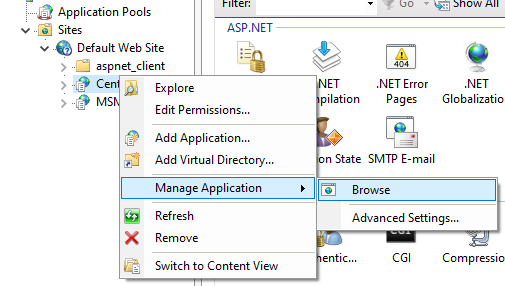
This can be done by opening the IIS, right click “Centro” and use “Browse” under Manage Application. Alternatively, type in the name of the server and /centro or use localhost/centro.
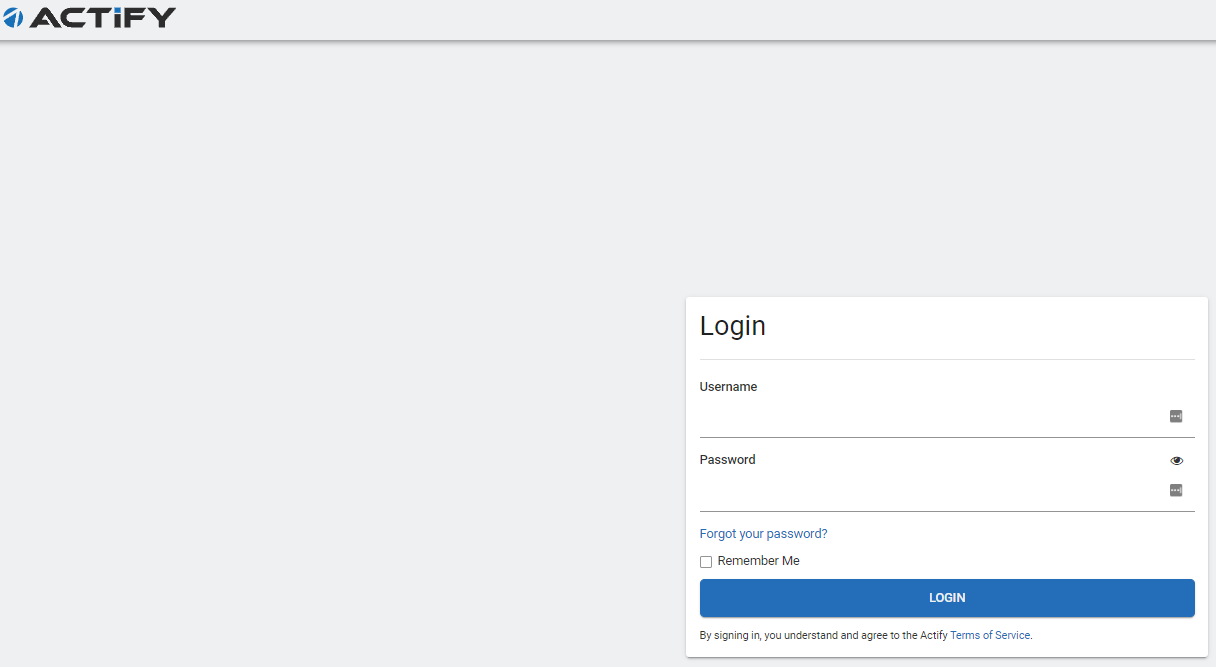
The page may take a moment to load, once open you do not need to log in, this is to confirm the WebApp has been installed correctly. (Reaching the Database, Images intact etcw)
You may now proceed to upgrade the Pipeline Host and then the Pipeline Manager.

Install Pipeline Host
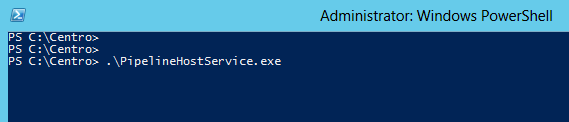
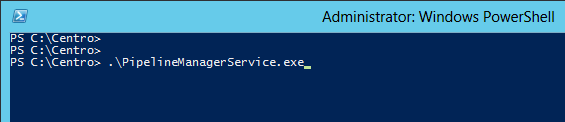
Open a PowerShell or Command Prompt window as an administrator, and enter the following command.
.\PipelineHostService.exeOptionally you can Right-Click the executable and use "Run as administrator"
Select the language for the installation and click
Next.
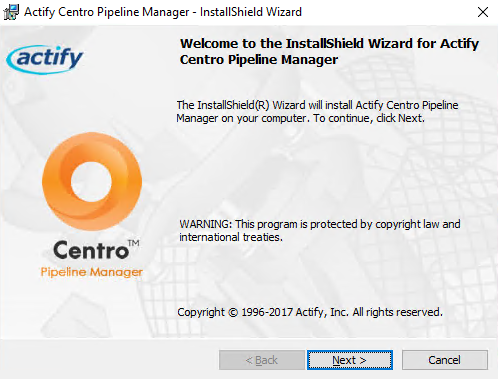
On the Welcome page, click
Next.
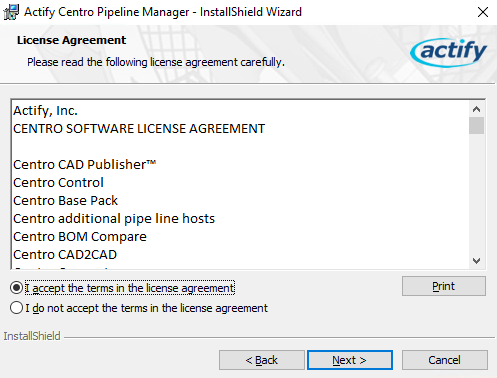
Read the License Agreement, select
I accept the terms in the license agreement, and click Next.

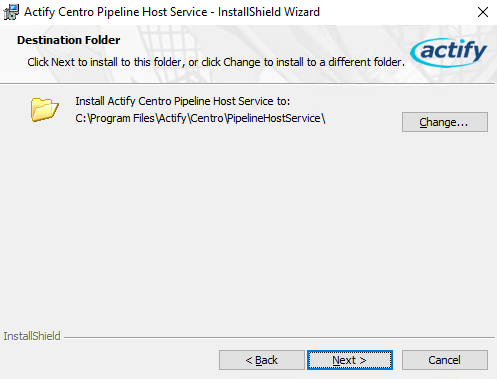
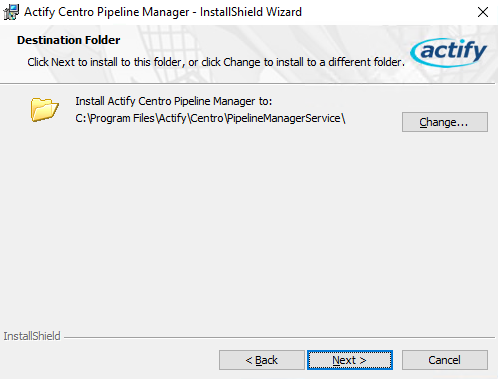
Select a folder to install or use the default then click
Next.
Setup Email server settings or skip for later.
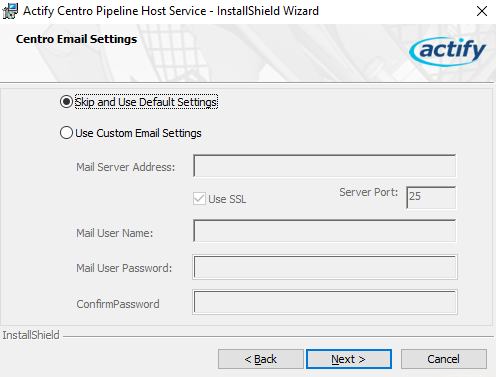
Enter the IP address of the ArangoDb server if it is not local to the Pipeline Host Service.
Enter the database user name and password that the application uses to connect to the ActifyDB on the ArangoDB.
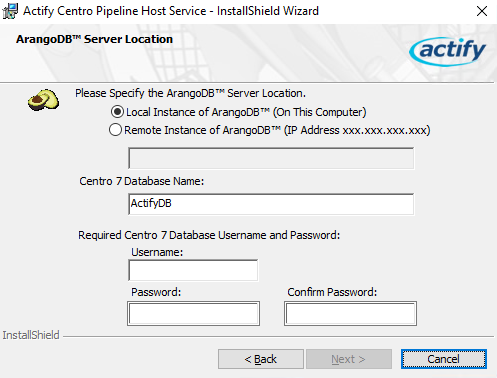
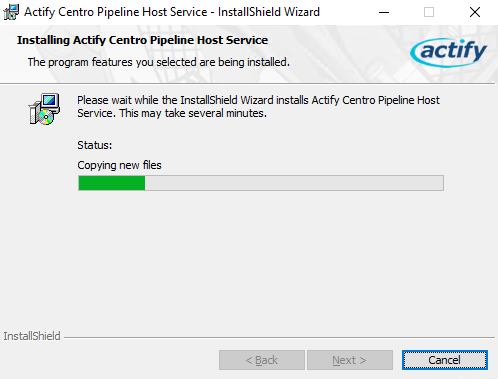
Click Install.

Allow the files to be installed and then click Finish.
Click
Finish.

If you use a Shared/Network Drive for hosting your CAD Files or Converted Files, you will need to re-add the user credentials.
Right click the Pipeline Host Service and select Properties
Select Log On Tab
Re-enter the user credentials who had full read/write access to your CAD data.

Install Pipeline Manager
Open a PowerShell window as an administrator, and enter the following command
Select the language to view the installation and click.

Click
Next
Read the License Agreement, select
I accept the terms in the license agreement, and click Next.
Leave as Default and click
Next.
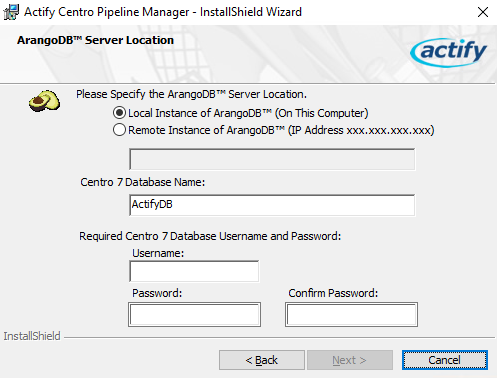
Enter the
IP address of the ArangoDB server. Enter the database user name and password that the application uses to connect to the database. Click Next.
Click
Install.
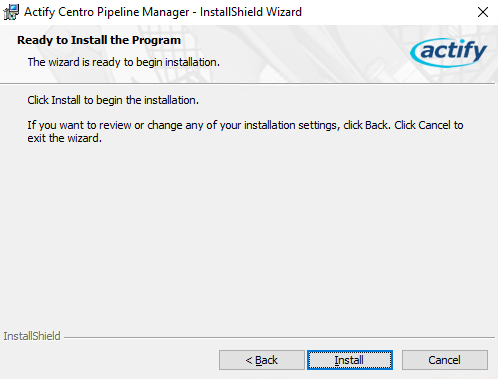
Allow the files to be installed.

Click
Finish. Now log in to CAD Publisher Webpage
Reboot the Pipeline Host and then the Pipeline Manager (In that order - Important)
Log into CAD Publisher and go to the Pipeline Manager
Check Pipelines are showing and running correctly
If possible, run some files through a Pipeline to confirm they convert successfully.