Using the Templates Editor
The Templates Editor enables you to design custom print layouts so you can easily create hardcopy that conforms to standards specified by your enterprise or clients.
![]()
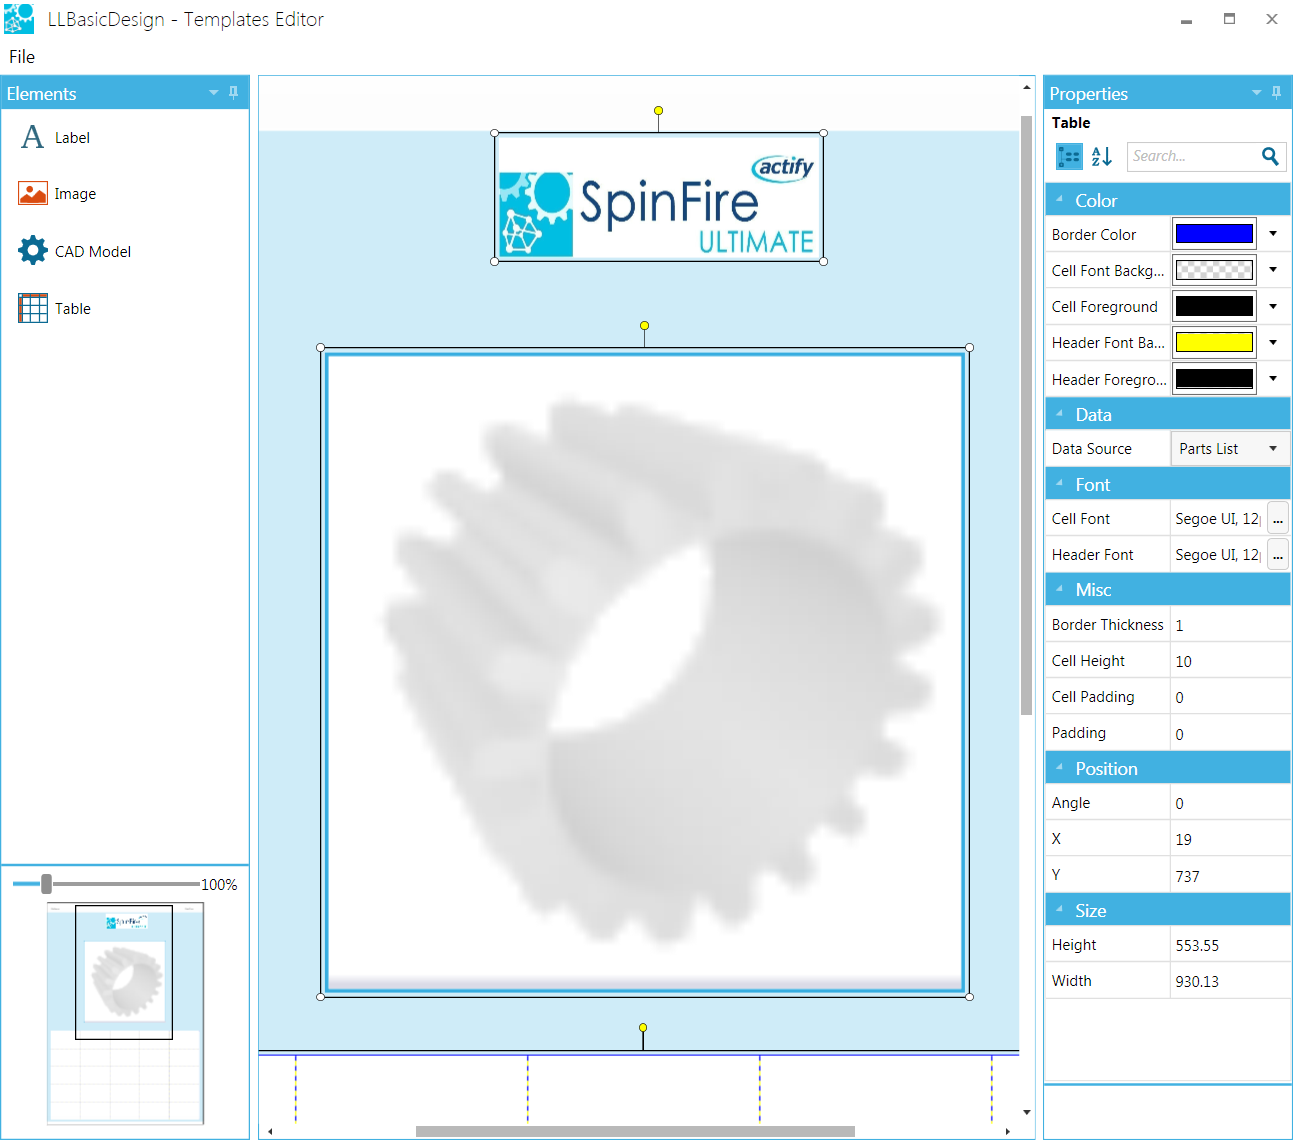
The editor contains an Element pane, a work area containing the page itself, and a Properties pane.
Elements can include text labels, images, the active workspace document, and parts list tables.
To add an element to the page, simply drag one of the element icons onto one of the header/footer areas or the Main Page. An element in one section of the page cannot be dragged to another section; an element is "attached" to the section that was highlighted when it was created.
Element properties are controlled by the Properties panel.
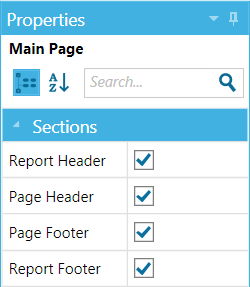
As you mouse over the page, you'll notice that there are specific areas on the page that become highlighted: top and bottom margins, top and bottom headers, and the main part of the page. Click on any of the highlighted areas to change their properties. For example, if you wish to remove the Report Header section (topmost on the page), click on the Main Page (highlighted blue in the screen shot), then clear the Report Header checkbox.
Also note the thumbnail image in the lower left corner of the screen—you can use the slider to zoom in/out; the black box indicates the visible portion of the page.
Page formats are managed by the Properties panel.
The following list describes the elements and their properties.
Page - The size (A3 or A4) and orientation of the page (portrait or landscape) is determined using the Page properties pane. If you do not see this pane on your screen, use the size slider in the lower left corner to reduce the page size, then click anywhere on the underlying work area (designated by the blue rectangle between the Elements pane and Properties pane).

Label - When you drag a Label onto the page, the Properties pane will change to display options for adding content, font and color, and position.

A text box can be either static or dynamic, meaning that you can enter text that will remain constant from one printing to another, or choose from one of the five variables shown on the Text drop-down menu.

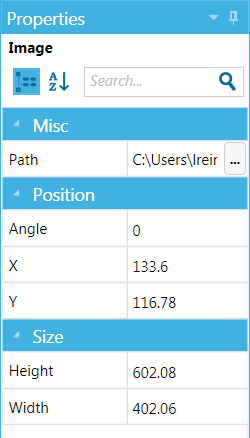
Image - Image files, such as a logo or picture, can be placed on the page. Compatible formats are .JPG, .JPEG, .BMP, and .PNG.
CAD Model - When the CAD Model icon is dragged onto the page, a placeholder box will indicate where the model or document image will be placed.
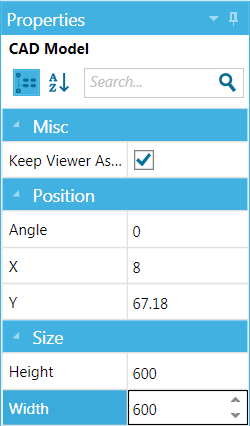
You can size the image using the CAD Model Properties panel. To maintain the image original aspect ratio, Select the Keep Viewer Aspect Ratio checkbox in the Misc section of the Properties panel.
Table - Drag the Table icon onto the page if you wish to include a parts List. Use the Table properties panel to specify color, font, border and cell attributes, table position, and size.