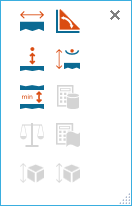
Shortcut Toolbar
SpinFire Ultimate introduces the shortcut toolbar that is configurable to hold the measurements most often used.
To configure the shortcut toolbar,
- Go to the 3D Viewer settings for configuring the 3D shortcut toolbar or the 2D Viewer settings for configuring the 2D shortcut toolbar.
- Click the Define Shortcut Toolbar... button.

- Check the measurement to add to the shortcut toolbar or uncheck to remove from the shortcut toolbar.

- Check Show On Load to have the shortcut toolbar on load.
- Import/export toolbar configurations.
- Use the Reset to Default button to reset the toolbar quickly.
- Click OK or Apply to save your configuration.
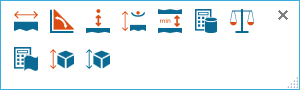
You can move and adjust the size of your shortcut toolbar to make its positioning most convenient for you.
Move the Shortcut Toolbar
To move the shortcut toolbar,
- Place the mouse over an empty portion in the shortcut toolbar.
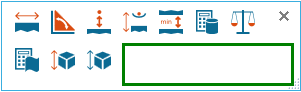
- Drag the toolbar to a new location.
Resize the Shortcut Toolbar
To resize the shortcut toolbar,
- Grab the bottom right corner.
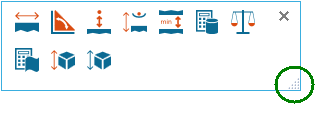
- Drag to the desired size.