
CAD Publisher Pipeline Editor
Centro pipelines are the essential force behind Centro's flexibility and strength. The Pipeline Editor is a drag and drop interface that allows authorized users to create and edit Centro pipelines.
Navigate to the Pipeline Editor by creating a new pipeline from the Pipeline Manager or editing a currently existing one.

A. Breadcrumb path
Use the breadcrumb to quickly navigate back to previous locations such as the Pipeline Manager.
B. Job Allocation Triggers
This lists the available Job Allocation Triggers. Use a trigger to start the definition of your pipeline.
To add a trigger to the pipeline:
- Mouse over the trigger of choice.
- Once the trigger icon is askew, drag and drop it to the pipeline in the trigger landing area.
Wait until the dashed line appears. This indicates the trigger landing area is ready to accept the trigger.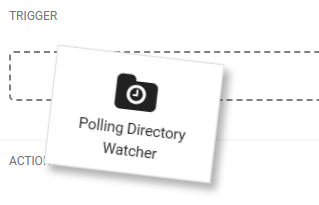
Note
Only one trigger per pipeline is permitted.
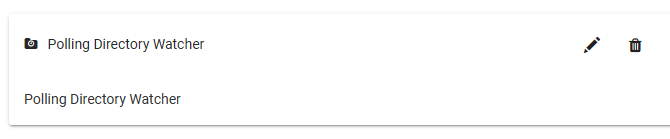
C. Pipeline Trigger
This area shows the trigger being used in the pipeline.
Use the respective icons to edit or remove a trigger from the pipeline.
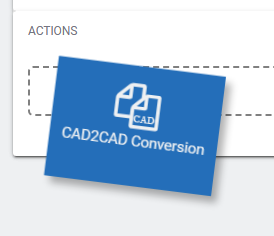
D. Job Actions
This lists all the available Job Actions available to use in the pipeline.
To add a job action to the pipeline:
- Drag and drop triggers and actions into the pipeline column. Wait until the dashed landing area appears before releasing the mouse button.
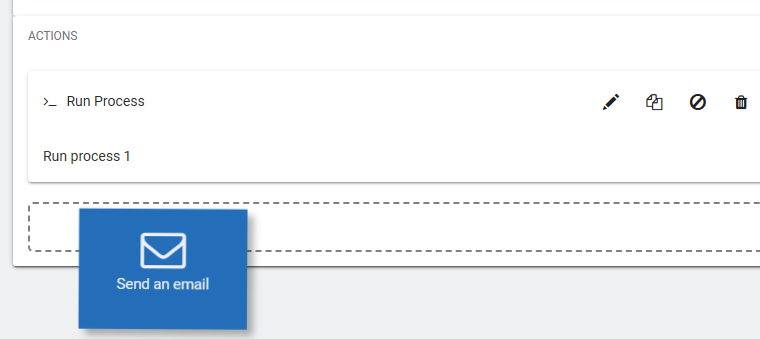
E. Pipeline Actions
- The pipeline actions are listed in the order they are executed.
Reorder the pipeline actions by dragging and dropping into a new location.
Tip
Remember the order of your actions must make sense. For example, even though the pipeline editor allows it, you don't want to have your thumbnail PNG image uploaded to the Catalog before it's generated.
- Edit, disable or remove a trigger or action by clicking on the appropriate button.
Tip
Remember to click the Save button when disabling/enabling or removing actions.
F. Editing and Finishing Buttons

Pipeline Details
The pipeline name as well as buttons to edit and save a pipeline appear here.
- Click the Edit button to view and change the pipeline details.
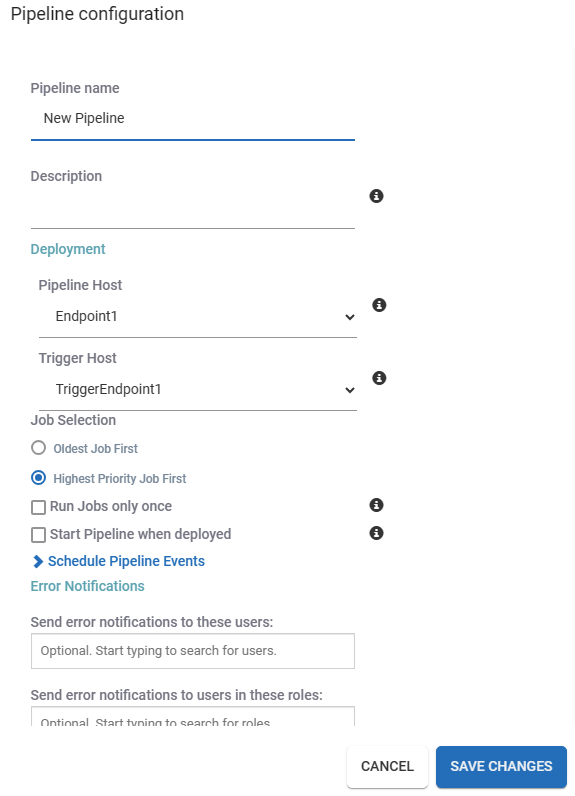
- Click the Save button to save changes to the pipeline such as:
- Enabling/disabling an action
- Changing the order of actions
- Deleting actions
Return to Previous Page
To return back to the previous page, click the Done button.
Deploy
Use the Deploy button on completed pipelines or exit from the Pipeline Editor when finished.
Advanced action settings
Each pipeline action has section of Advanced settings. They have defaults in place but are available if one needs to override those defaults.
| Timeout | The time to wait for the action to complete before aborting. If an action takes longer than the default time then alter it appropriately. Default: 10 mins 0 secs |
| Error Behavior Before | The action to take if an error has occurred before the action.
|
| Error Behavior After | The action to take if an error has occurred after the action. Choose from Skip, Continue, Cancel. Default: Continue |
Related Links
CAD Publisher Job Allocation Triggers
CAD Publisher Job Actions
CAD Publisher Tutorial: Create a Pipeline