
Working with Notes
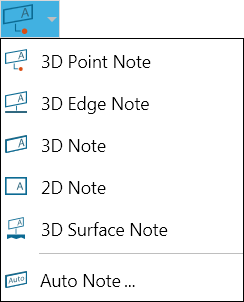
Add a note to the 3D workspace to label or instruct future viewers of your ACT3D file. There are six types of notes to use.
- 3D Point Note
- 3D Edge Note
- 3D Note
- 2D Note
- 3D Surface Note
- Auto Note
3D Point Note
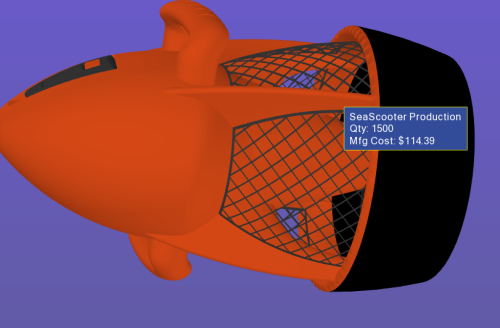
A 3D note is associated to a specific point on the model.
- Open the Notes menu on the 3D Document Toolbar. How? Click the drop-down arrow to the right of the Notes icon.
- Click 3D Vertex Note. Red dots designate available points on the model.
- Click the point you wish to label. Crosshairs indicate the point where the label will attach.
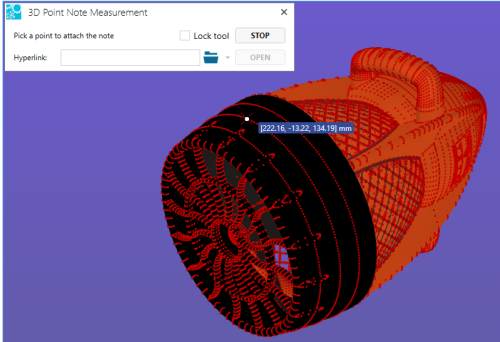
- When the label appears, drag it into position with your pointer.
- Click once to set the position of the label. A cursor will appear in the label.
- Type the text of your label and press Enter.
Note
If you want to add several of the same type of markup, you may select the Lock tool check box that appears when you select a markup command. This will allow you to keep adding the same type of markup to the scene until you click Stop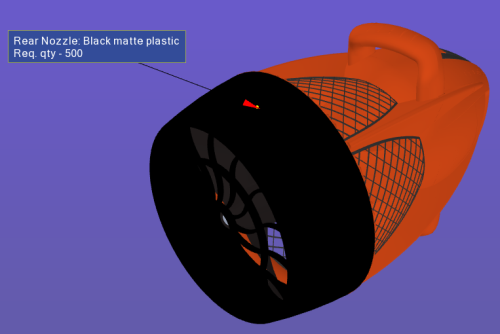
3D Edge Note
A 3D note is associated to a specific edge on the model.
- Open the Notes menu on the 3D Document Toolbar. How? Click the drop-down arrow to the right of the Notes icon.
- Click 3D Edge Note.
- Click the edge you wish to label. The edge is highlighted when the pointer is properly positioned.
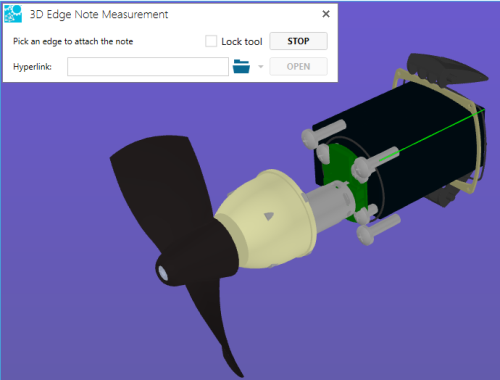
- When the label appears, drag it into position with your pointer.
- Click once to set the position of the label. A cursor will appear in the label.
- Type the text of your label and press Enter.
Note
If you want to add several of the same type of markup, you may select the Lock tool check box that appears when you select a markup command. This will allow you to keep adding the same type of markup to the scene until you click Stop.
3D Note
A 3D note is placed anywhere in the 3D workspace.
Since 3D Notes exist in the 3D space, they rotate, zoom, and pan as you manipulate the view.
- Open the Notes menu on the 3D Document Toolbar. How? Click the drop-down arrow to the right of the Notes icon.
- Click 3D Note. The label will appear.
- Drag the label into position with your pointer.
- Click once to set the position of the label. A cursor will appear in the label.
- Type the text of your label and press Enter.
Note
If you want to add several of the same type of markup, you may select the Lock tool check box that appears when you select a markup command. This will allow you to keep adding the same type of markup to the scene until you click Stop.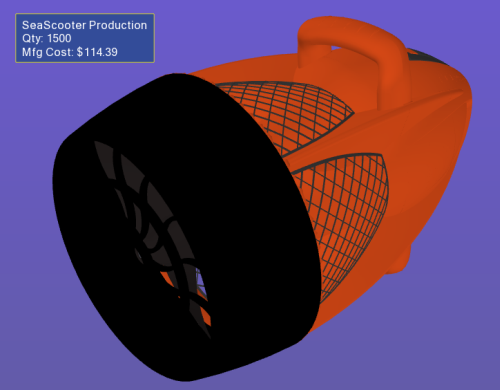
(model rotated - the note rotates with the model)
2D Note
A 2D note is placed anywhere within the camera's plane.
2D notes do not move as you manipulate the view of the 3D space (rotate, zoom, pan).
- Open the Notes menu on the 3D Document Toolbar. How? Click the drop-down arrow to the right of the Notes icon.
- Click 2D Note. The label will appear.
- Drag the label into position with your pointer.
- Click once to set the position of the label. A cursor will appear in the label.
- Type the text of your label and press Enter.
Note
If you want to add several of the same type of markup, you may select the Lock tool check box that appears when you select a markup command. This will allow you to keep adding the same type of markup to the scene until you click Stop.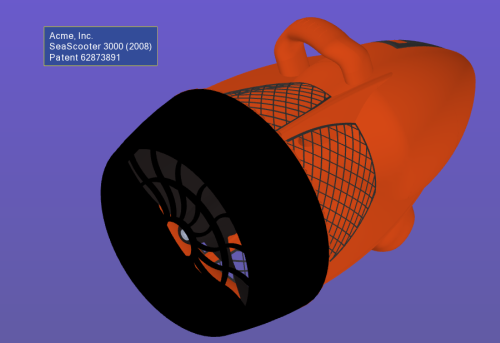
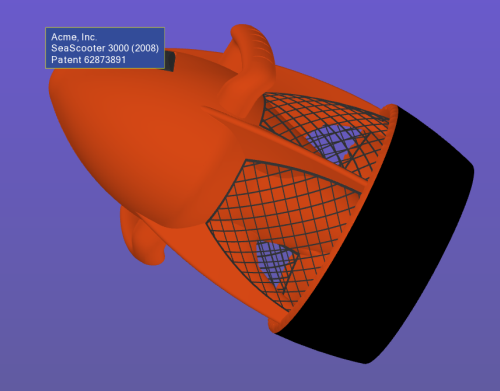
(model rotated - the note remains in its position)
3D Surface Note
A 3D note is associated to a specific surface point on the model.
- Open the Notes menu on the 3D Document Toolbar. How? Click the drop-down arrow to the right of the Notes icon.
- Click 3D Surface Note.
- Position your pointer over the surface you wish to label and click. A surface is highlighted when the cursor is properly positioned. Crosshairs indicate the point where the label will attach.

- When the label appears, drag it into position with your pointer.
- Click once to set the position of the label. A cursor will appear in the label.
- Type the text of your label and press Enter.
Note
If you want to add several of the same type of markup, you may select the Lock tool check box that appears when you select a markup command. This will allow you to keep adding the same type of markup to the scene until you click Stop.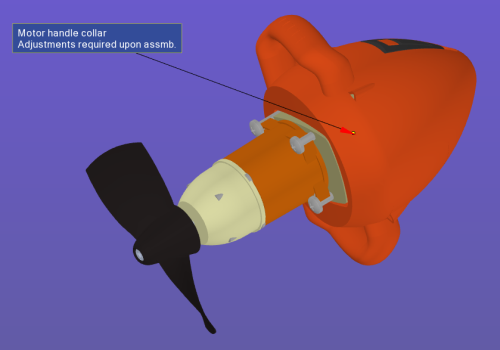
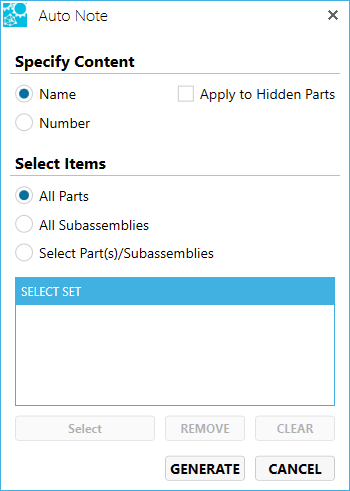
Auto Note
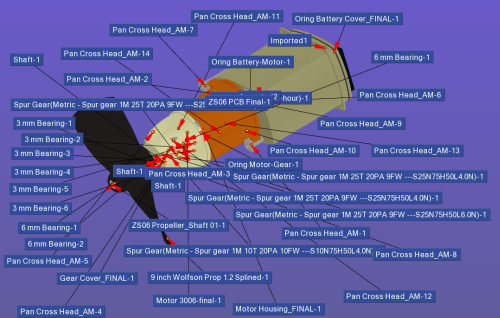
Auto Note labels all the parts of an assembly automatically within seconds using either the name of the part or a sequential number.
Specify all parts, subassemblies, selected parts. Due to the possible number of notes, one may need to reposition them to be viewable.
- Open the Notes menu on the 3D Document Toolbar. How? Click the drop-down arrow to the right of the Notes icon.
- Click Auto Note....
- The Auto Note menu appears.
- Specify content and items then click the Apply button.
Note
The labels can be repositioned.
The right-click markups context menu will not function while Auto Note menu is active.
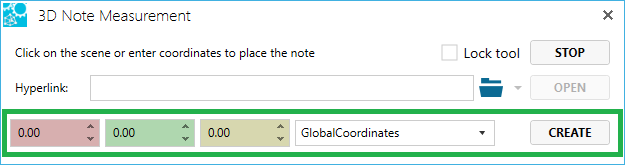
Specify Note Coordinates
All note annotations in a 3D workspace can have the note placed at a specific point in the workspace.
Right-click a dimension markup to make changes to its properties. A context menu will appear and provide command options that are based on the selected markup type. For example, a Point Coordinates markup context menu will differ slightly from an Arc Center to Arc Center markup context menu. (See the Working with 3D Markups for details.)